

Children Educational DIY Creation 3D Drawing Printing Pen
£59.99
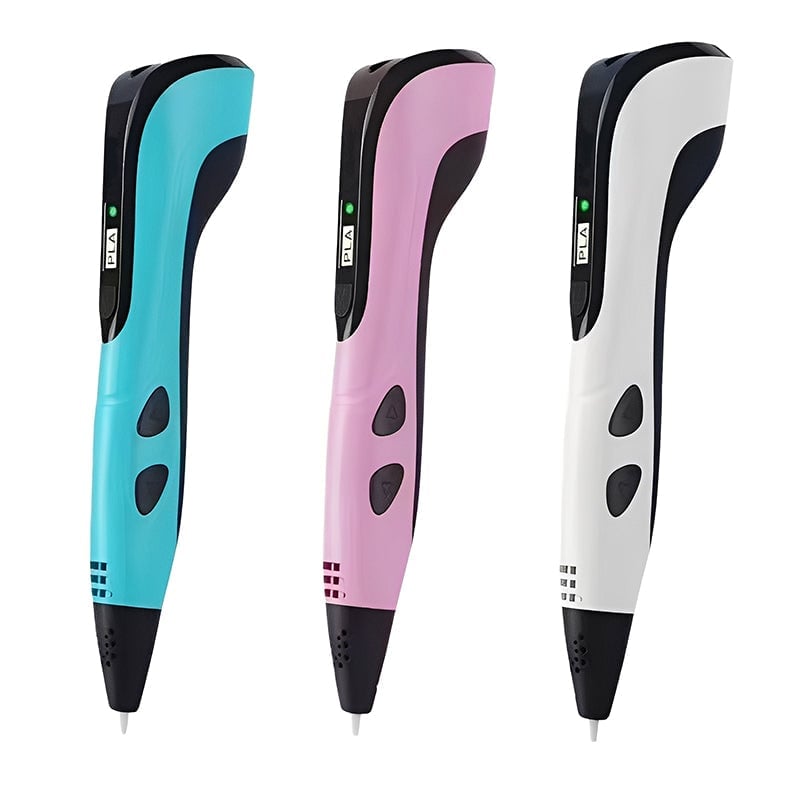
Colour


DESCRIPTION
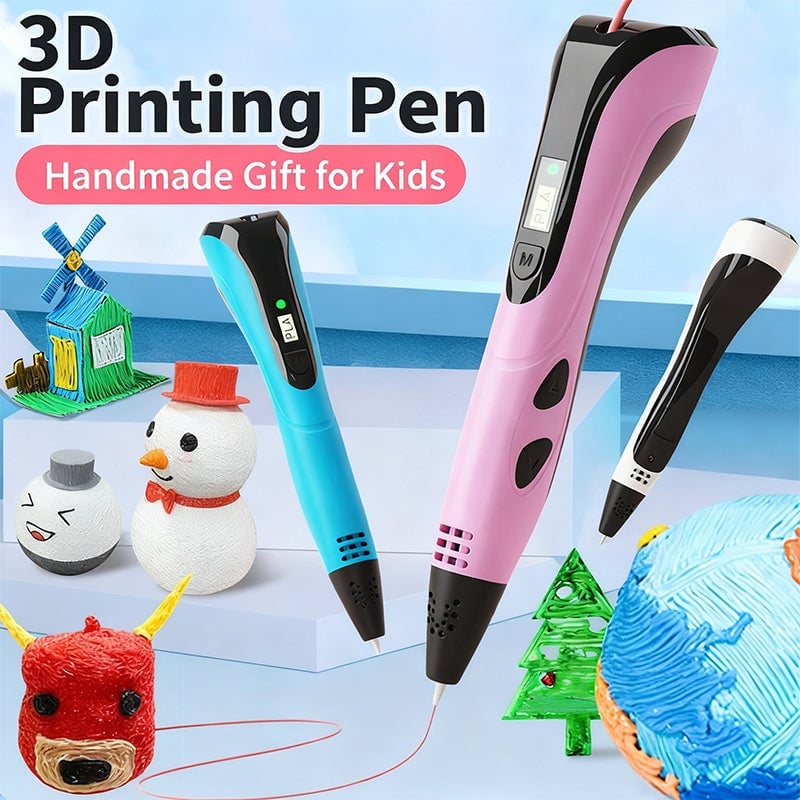
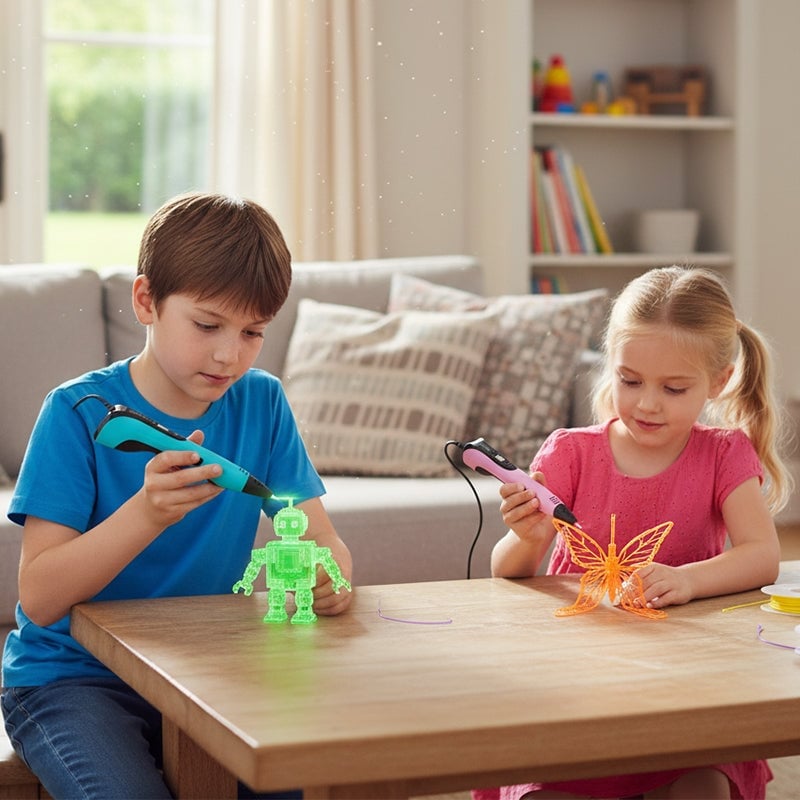
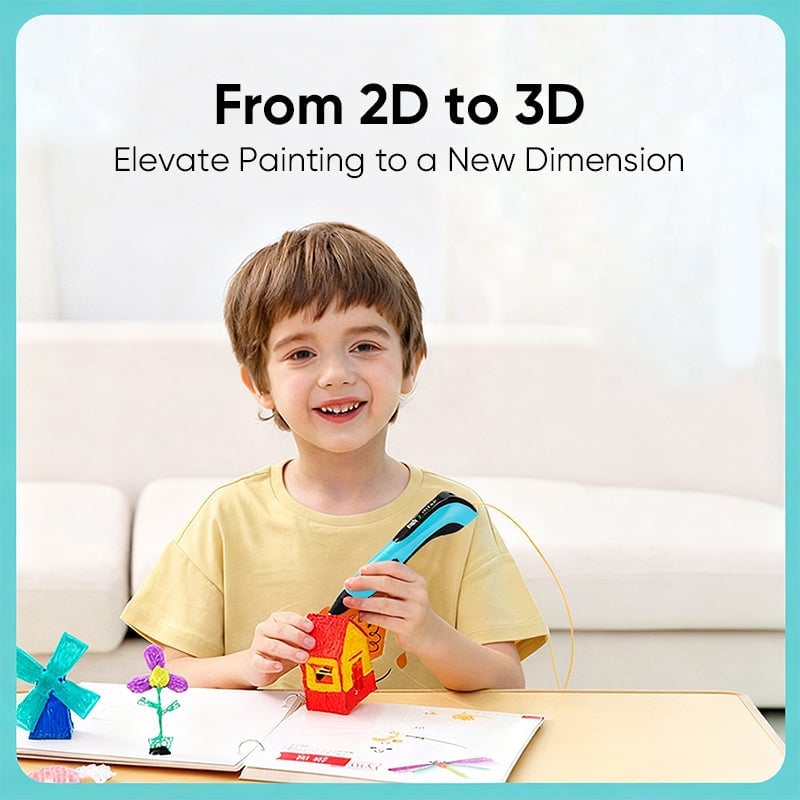
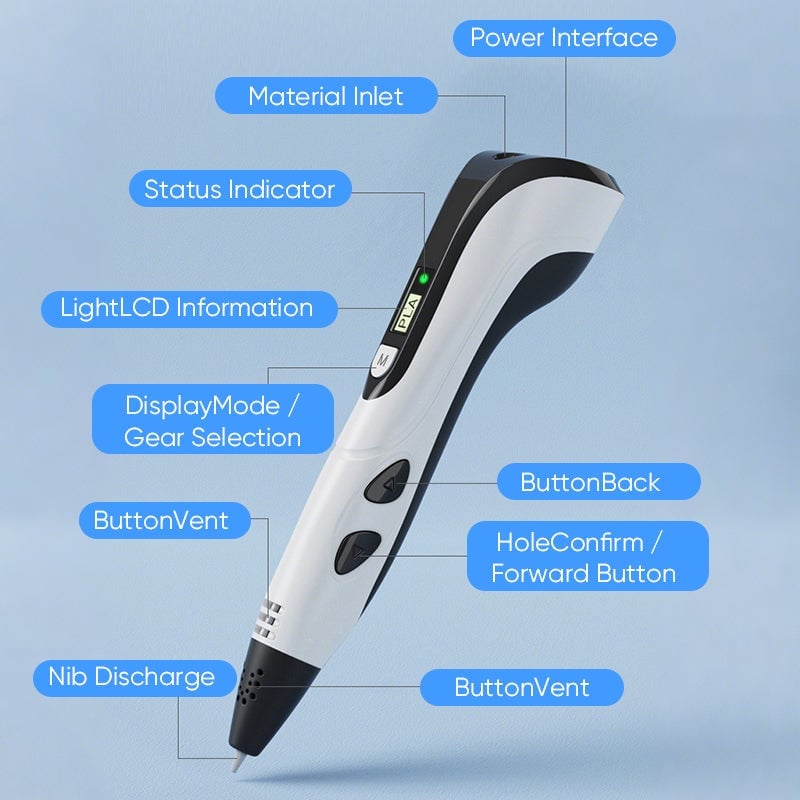
3D Printing Pen for Kids – Creative DIY Drawing Tool with LCD Display Power Supply

FEATURES
-
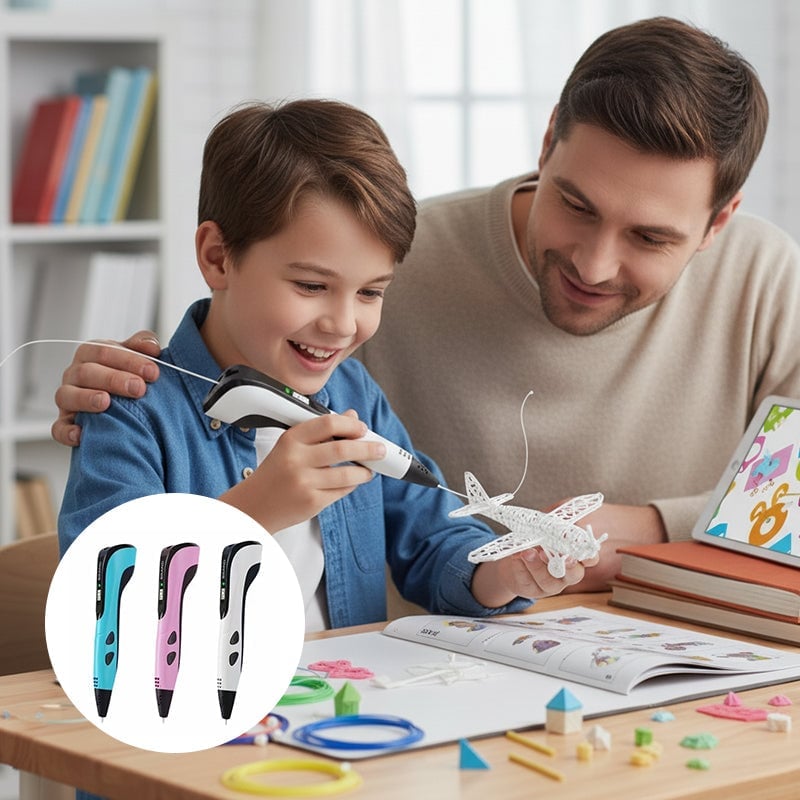
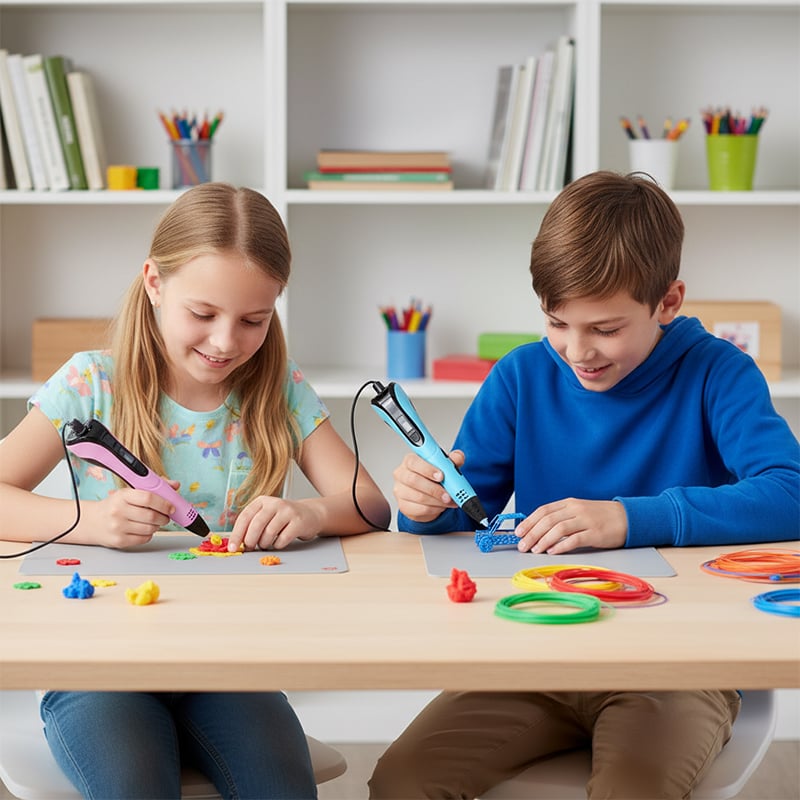
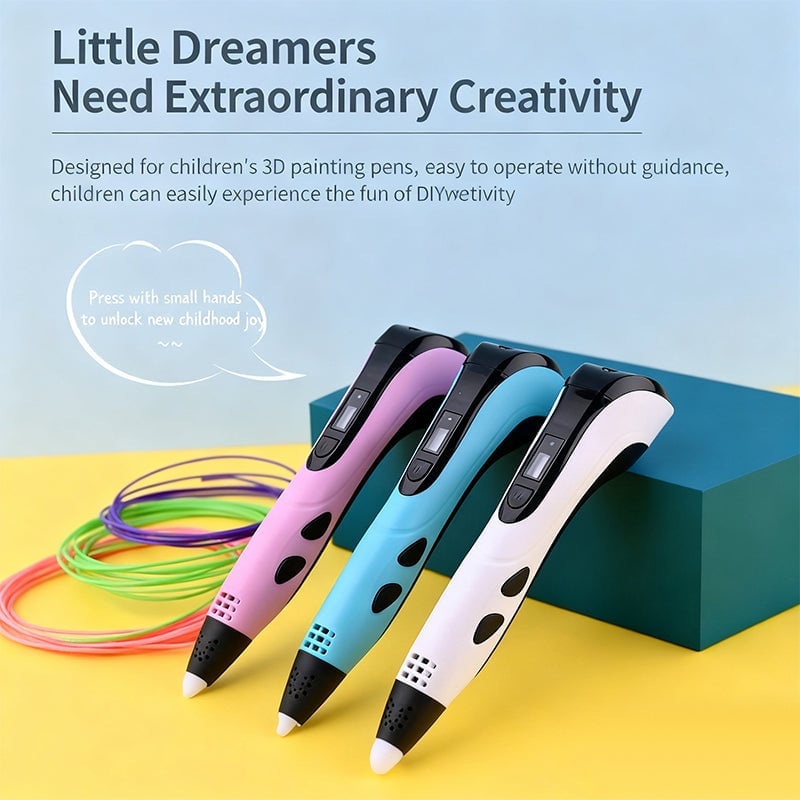
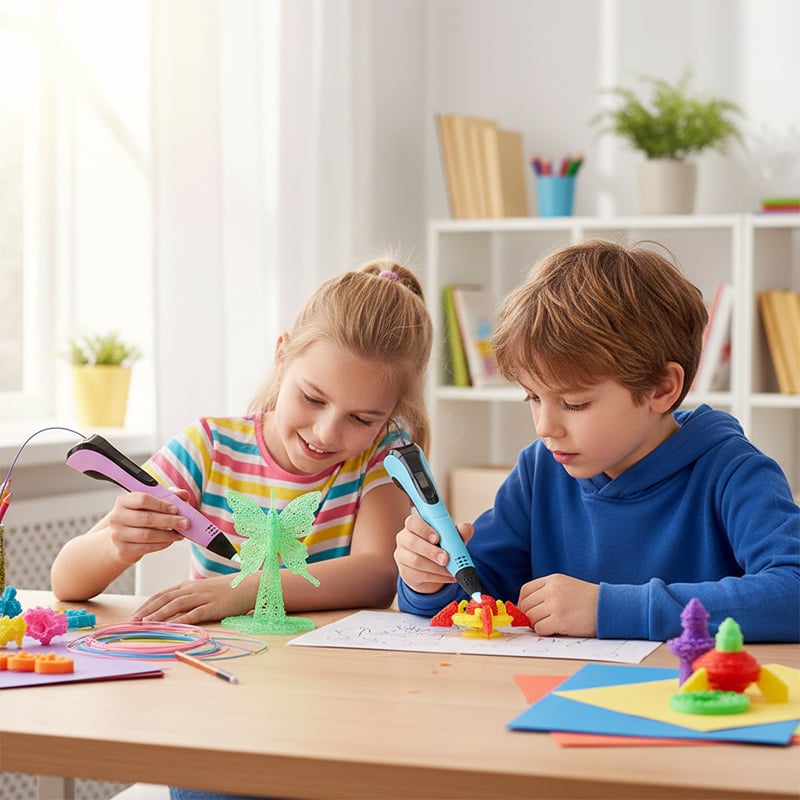
Safe & Easy to Use
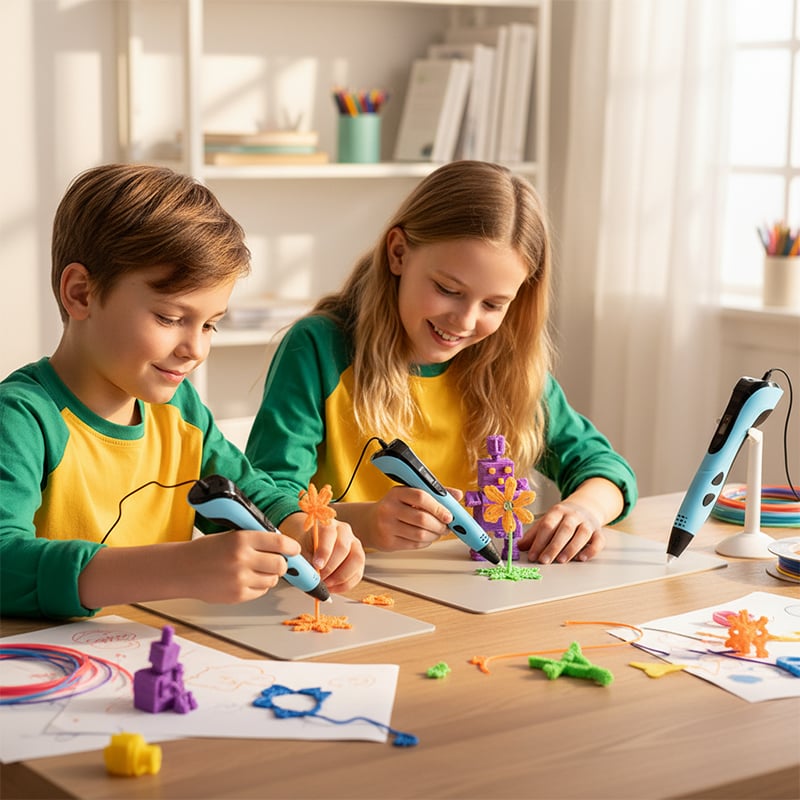
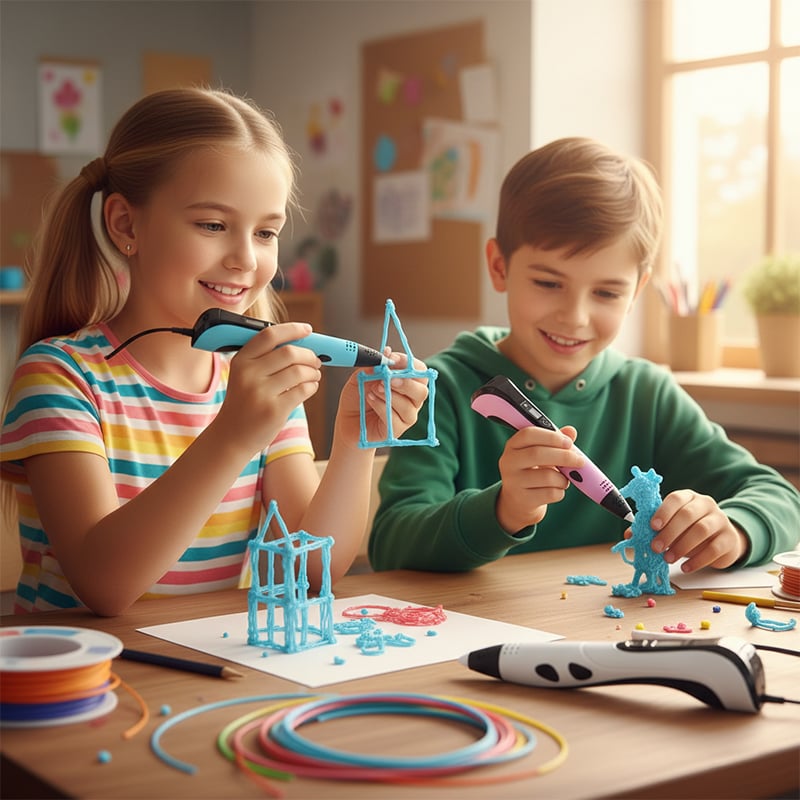
Specially designed for children, this 3D printing pen is simple to operate and requires no prior guidance — kids can easily enjoy DIY fun at home.
-
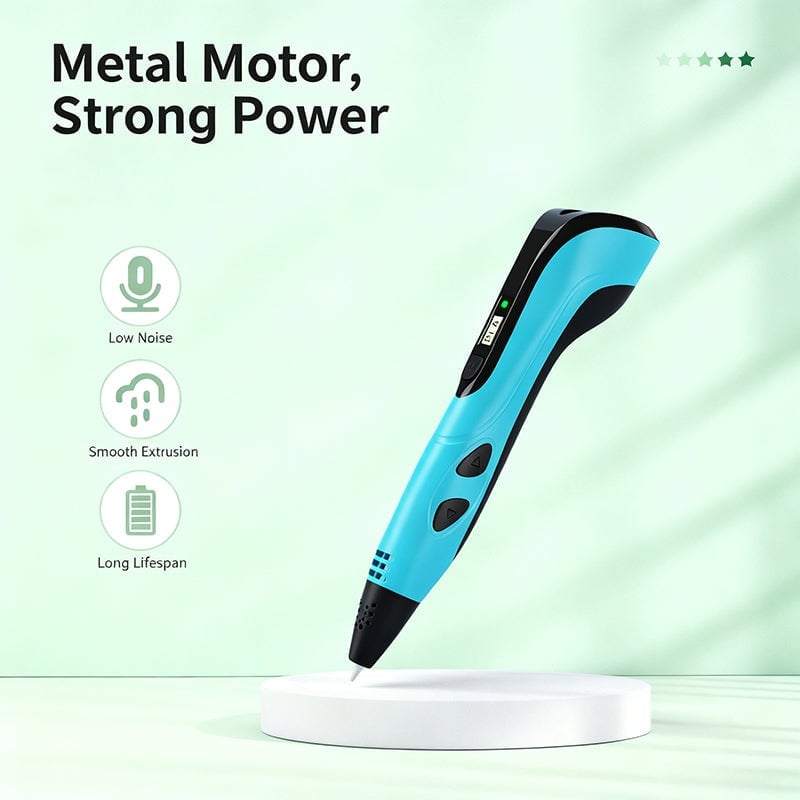
Strong Metal Gear Motor
Equipped with a durable metal gear motor for stronger power, smoother filament output, low noise, and long service life.
-
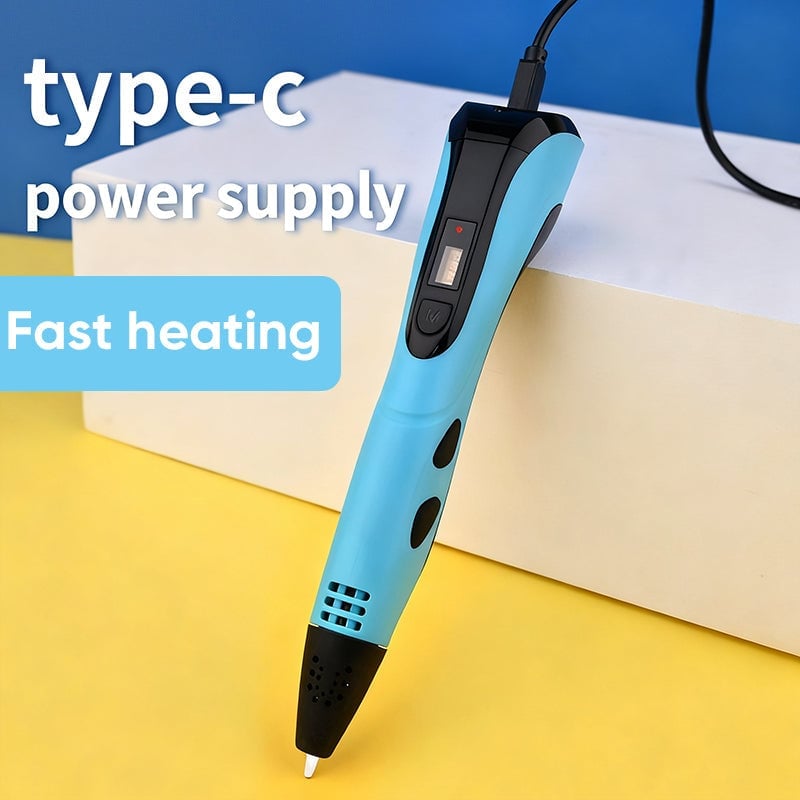
Type-C Power Supply
Powered via Type-C connection, ensuring fast heating and stable performance during long-term use. Simply plug in and start creating!

-
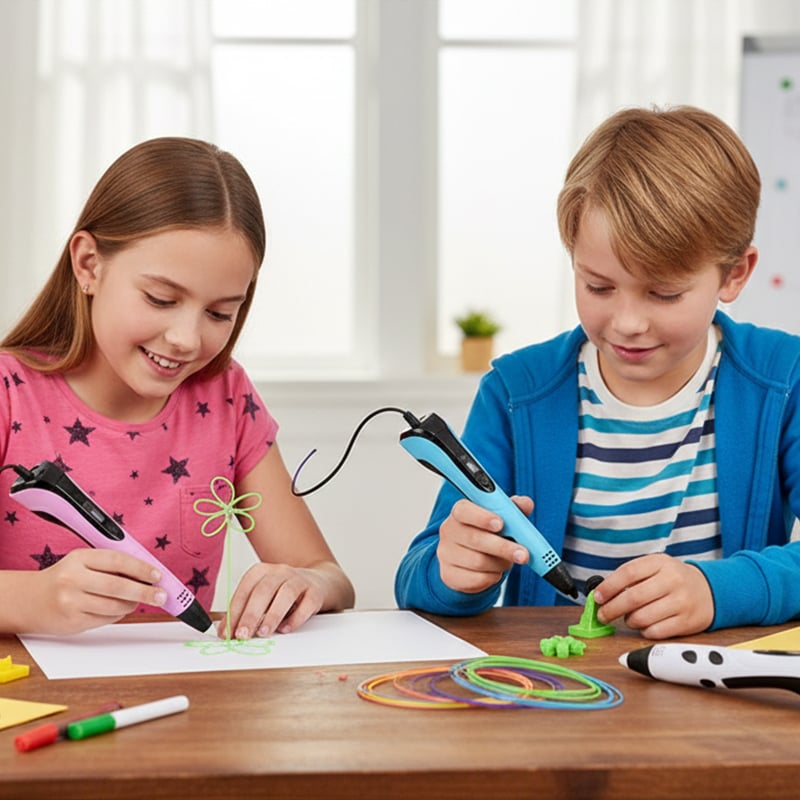
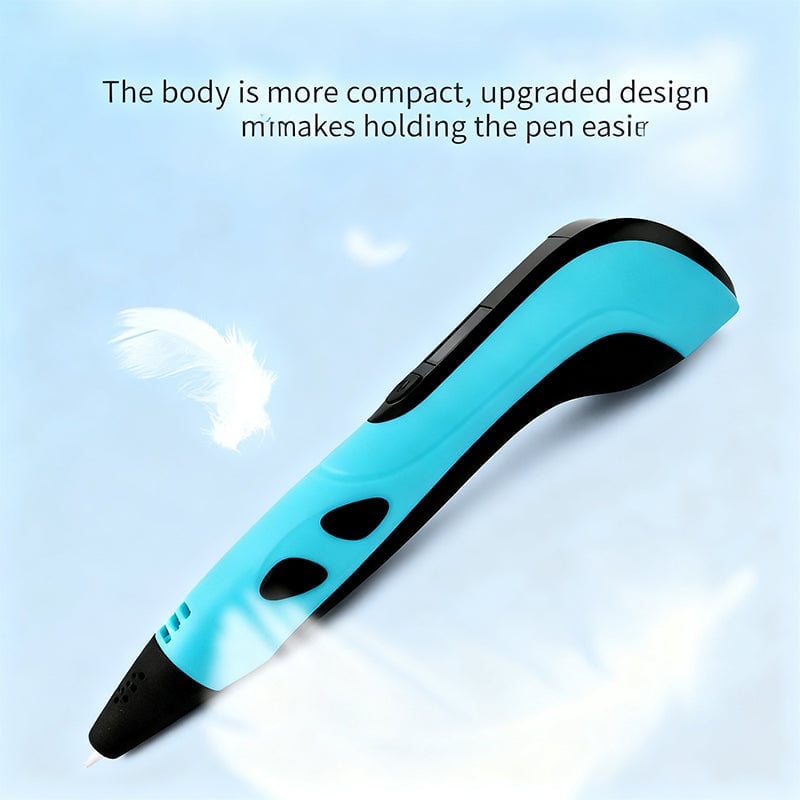
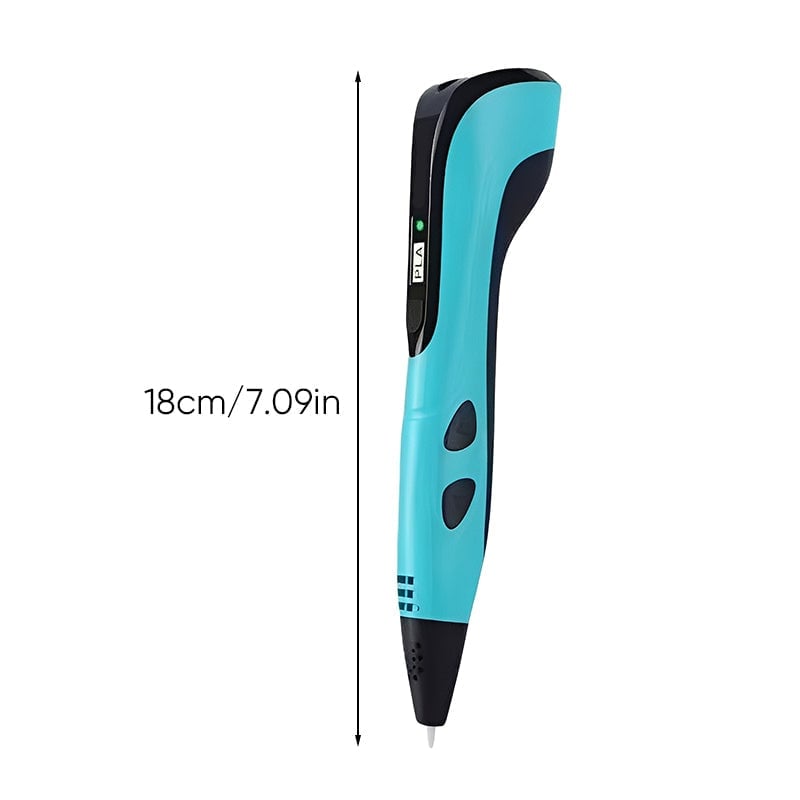
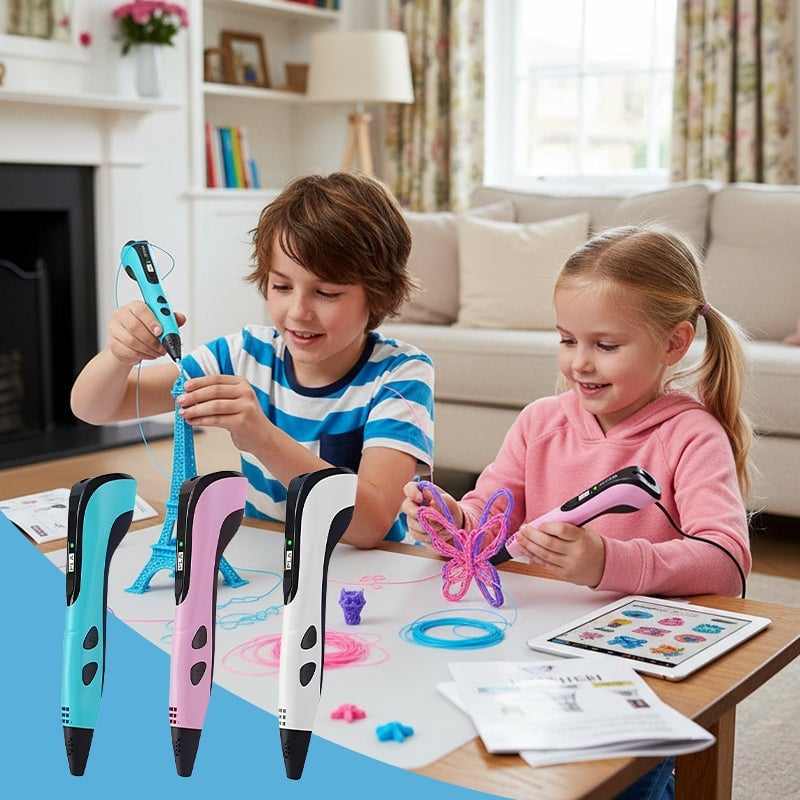
Lightweight & Ergonomic Design
The upgraded compact body fits comfortably in kids’ hands, reducing fatigue and allowing better control for precise drawing.

-
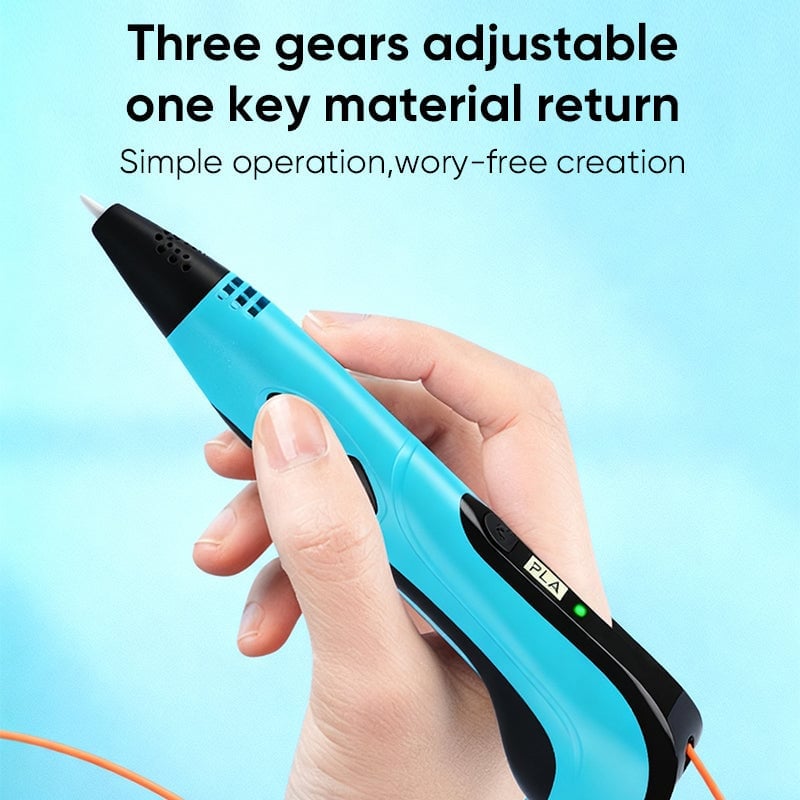
LCD Display & Adjustable Speed
Built-in LCD screen displays temperature and mode settings clearly. Three adjustable speed levels help achieve different creative effects.
-
Healthy Material
Made of safe and eco-friendly materials, providing a non-toxic, low-odor drawing experience suitable for children.
SPECIFICATIONS
- Material: Metal
- Length: 18 cm
- Power: USB Type-C
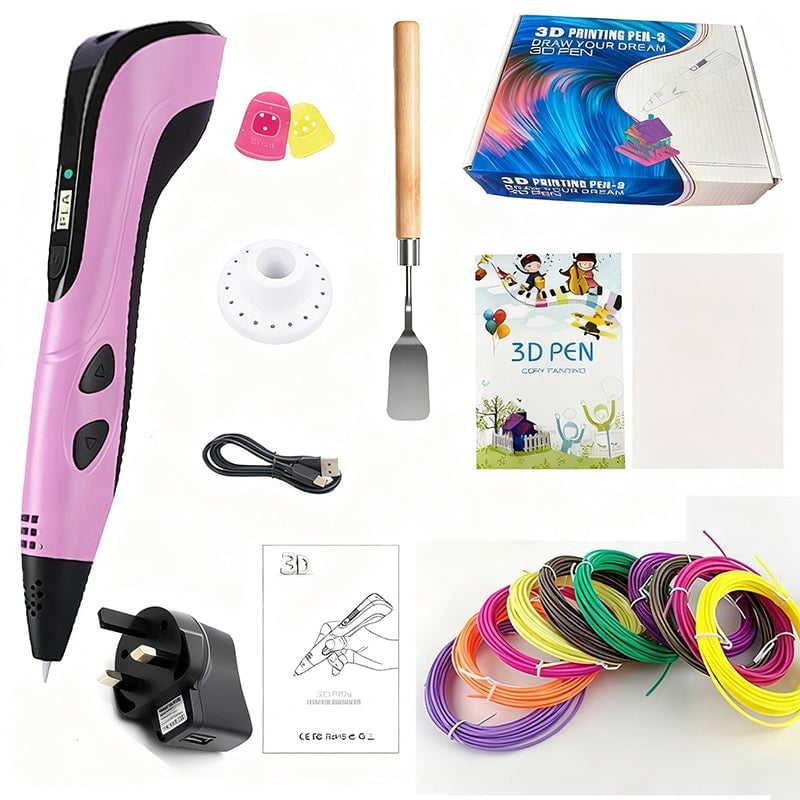
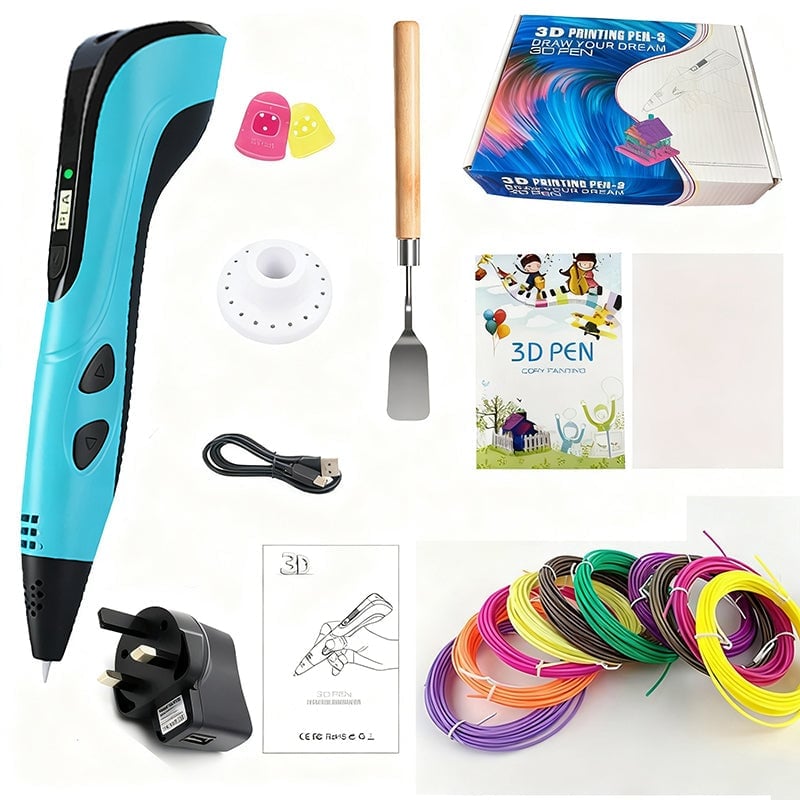
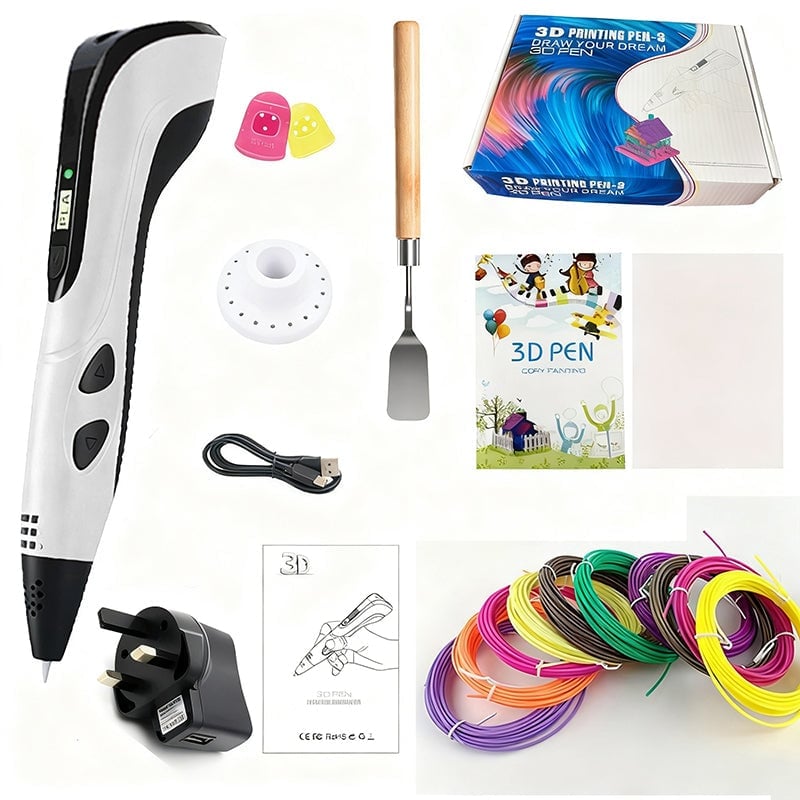
- Available Colors: Pink, Blue, White
- Weight: 200 g

PACKAGE INCLUDES
- 1 × 3D Pen
- 1 ×Adapter
- 1 × USB Type-C Charging Cable
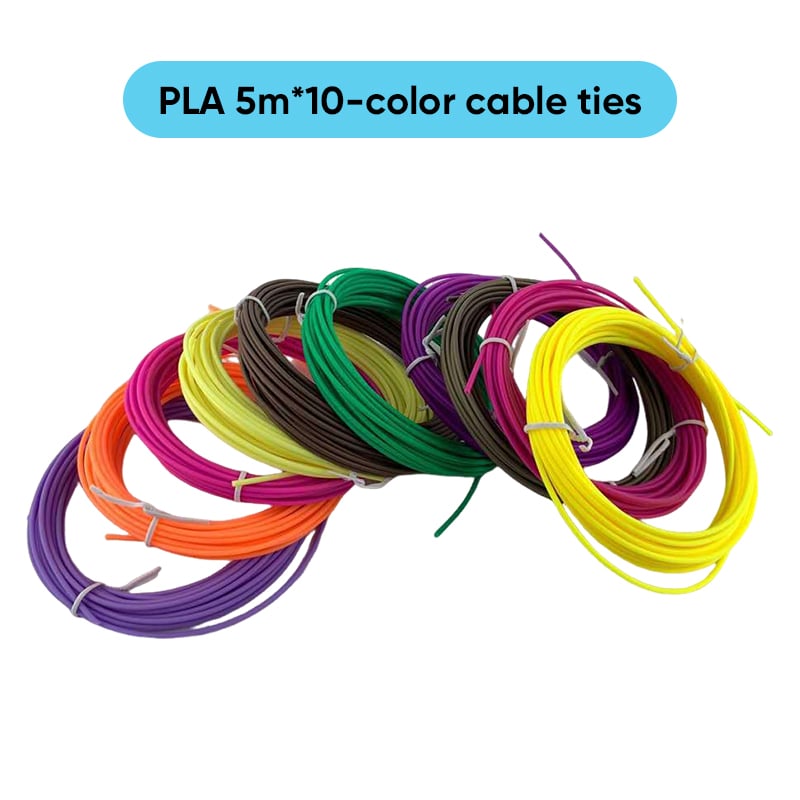
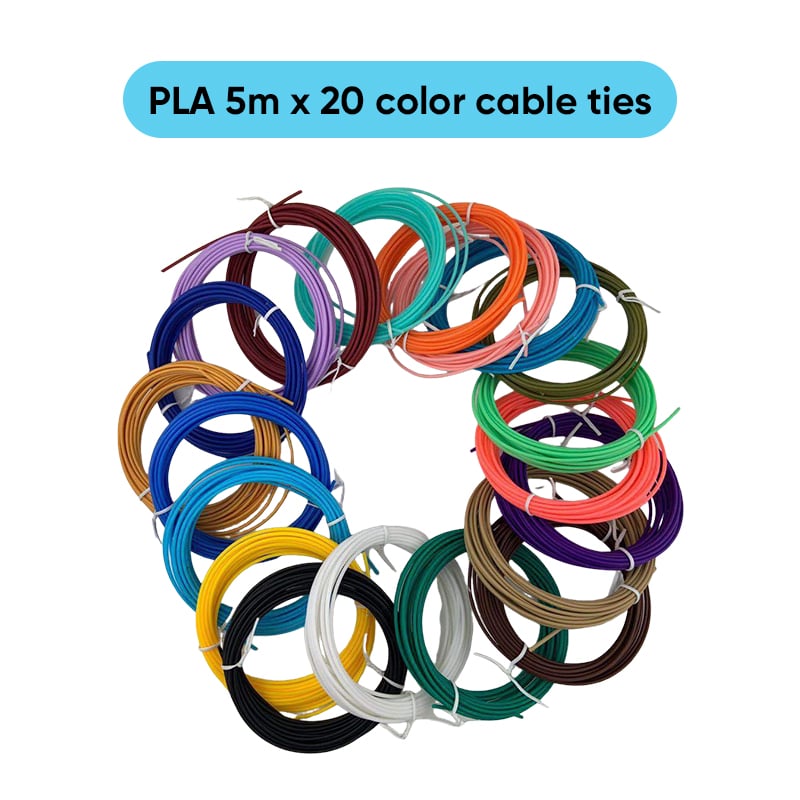
- PLA 10 colour * 5m(total 50 meters)
- 1 × User Manual
- 1 × Color Box Packaging
- 1 ×fingerstall
- 1 ×base
- 1 ×shovel
- 1 ×Drawing book + drawing board(22 patterns)

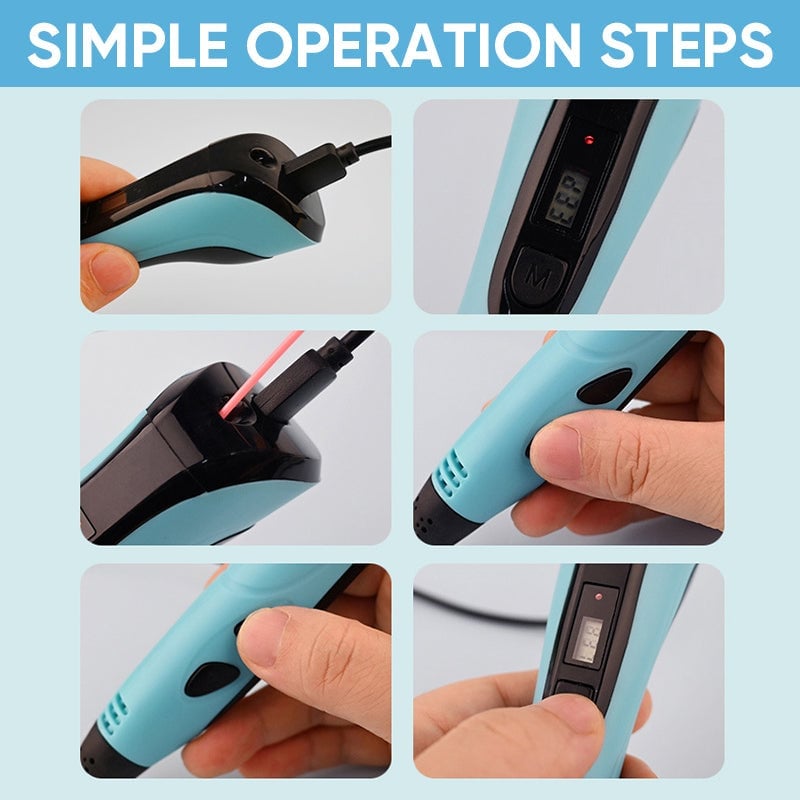
USEGE STEPS
-
Connect Power: Plug in the Type-C charging cable. The light turns red while charging and green when fully charged.
-
Select Mode: Choose PLA or ABS mode with the “M” button. Wait until the blue light appears – the pen is now ready.
-
Load Filament: Insert the filament into the loading hole and press the “feed” button to start loading.
-
Start Drawing: Press the “feed” button again to extrude filament and begin creating.
-
Unload Filament: Press the “return” button to automatically retract the material.
-
Adjust Speed: Press the “M” button during operation to switch between different speed levels.

NOTE
- Please allow slight measurement deviations due to manual measurement.
- Due to the different monitor and light effects, the actual color of the item might be slightly different from the color shown in the pictures.